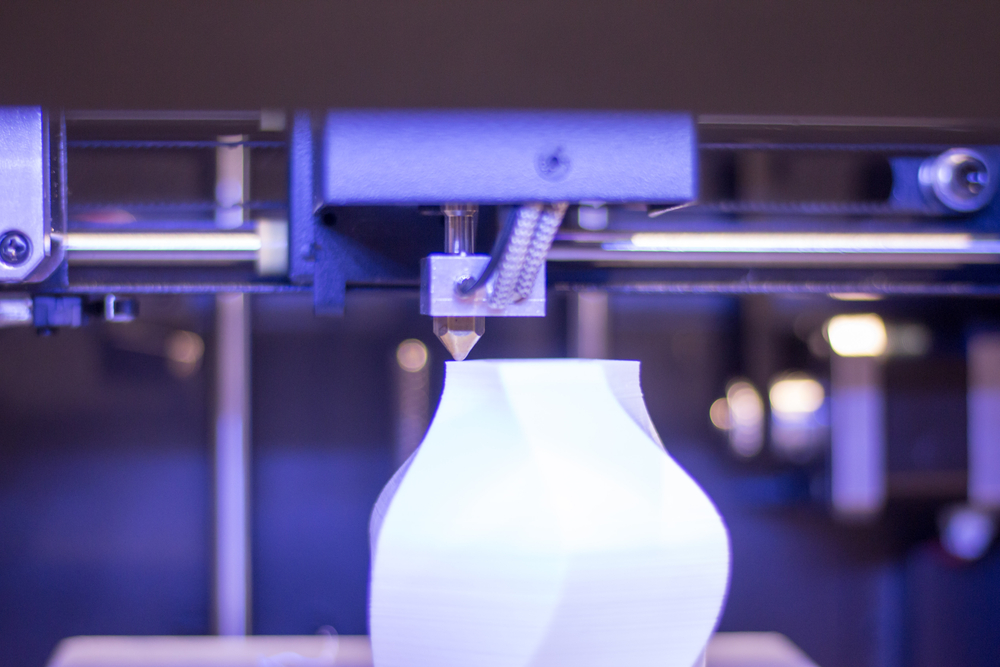
Additive manufacturing technologies allow companies to access affordable, on-demand products. These technologies are especially useful for rapid prototyping, allowing complex parts to be created up to 100 times faster than subtractive methods.
The common misconception is that additive manufacturing describes a 3D-printed object. In reality, many manufacturing technologies can create products layer by layer. This list will break down the different approaches for additive layer manufacturing.
7 Types of Additive Manufacturing Technologies
1. Powder Bed Fusion
Powder Bed Fusion methods rely on lasers or electron beams to melt powder material and fuse it together in layers. Some examples include:
- Direct metal laser sintering (DMLS)
- Electron beam melting (EBM)
- Selective heat sintering (SHS)
- Selective laser sintering (SLS)
After the object is finished, you can remove excess powder in post-processing.
Powder bed fusion can use versatile materials, and it’s relatively inexpensive. The powders provide a solid support structure to create durable objects. However, it's slower than other technologies, draws more power, and limits the size of your structure.
How Does Software Impact Additive Manufacturing Technologies?
Find out how Renishaw improved UX and slashed support requests in their build preparation software.
Read Case Study2. Material Jetting
Material jetting is similar to a traditional inkjet printer in that only the printer head can move in three directions to build 3D objects.
Since the material is added in drops, the process is highly accurate, resulting in very little waste. You are also able to create multiple colors and parts within a single production. The two most common materials used for material jetting are photopolymer resin and wax. The material needs some time to harden, either by cooling down or using a process to cure them.
However, there are drawbacks to material jetting, such as few material choices, and you may need to use a support structure for added durability.
3. Binder Jetting
Binder jetting creates objects using a powdered material and a liquid binding agent in alternating layers. The printer uses a roller to apply the powder and a printhead to apply the adhesive.
You can utilize a range of materials, including ceramics, plastics, and stainless steel, and create objects with a variety of colors.
The process is relatively fast, but the objects generally require post-production processing for a smooth finish.
Note that the binder material isn’t always suitable for parts needed to maintain structure. Post-processing can also slow your production down.
4. Sheet Lamination
This approach includes ultrasonic additive manufacturing (UAM) and laminated object manufacturing (LOM). You can create objects using ribbons of metal and bind them with ultrasonic welding.
This additive manufacturing process is more common in hybrid manufacturing approaches, as additional CNC milling or cutting is often required for metal objects. Alternatively, you can use sheets of paper and adhesive, but this is generally for creating a visual representation of a product.
Sheet Lamination is low-cost, efficient, and the materials are easy to handle. It requires much less energy than other options that use metal. However, the finished product’s durability varies depending on the adhesive you use, and there are limitations on the materials you can select.
5. VAT Photopolymerisation
The VAT Photopolymerisation process uses a vat of liquid photopolymer resin to construct 3D objects. The product is cured with precise UV light beams.
VAT photopolymerization can quickly create highly accurate products with a smooth finish. It can also create larger objects than some of the other options allow.
However, the process is more expensive, and the products require support structures for a more durable build. Since it uses a liquid material with no binding, there is no inherent structural support during the build phase.
Learn More About Additive Manufacturing Technologies
6. Directed Energy Deposition (DED)
DED is mostly used for creating metal objects and largely uses much more complex hardware. However, you can use ceramic or plastic materials. The machine uses an agile printing head to deposit melted metal in layers.
DED allows you to repair damaged parts or add components to existing materials for hybrid manufacturing. It gives you a higher level of control for the grain strength of each layer.
For early product testing, you can create objects faster by sacrificing some of the structural integrity. Finishes can vary, but most will require post-processing.
7. Material Extrusion
Material Extrusion is the typical setup of a consumer-grade 3D printer. A nozzle applies a constant stream of material to create the product. The nozzle can move from side to side, and it uses a platform to lift the object up and down.
Some devices may use an adhesive to form a bond between layers, while others use temperature control.
Material extrusion is inexpensive and widely used. You can select stronger plastics for better durability. However, the accuracy of each printer varies widely. You’ll also need to ensure the nozzle has consistent pressure for a high-quality finish.
Modeling Software…the Secret Sauce in Additive Manufacturing Technologies

No matter which manufacturing technique you use, all of them require software to guide the process. CAM software allows you to refine your product ideas with simulation modeling. This allows you to test and perfect your product before you invest in production models.
At Spatial, we help companies refine the 3D InterOp process with our industry-leading 3D CAD data translation SDKs. Our 3D InterOp interoperability software will optimize the interactions between all your software so you can streamline your workflow without missing a beat.
Reduce your risk and move your product from ideation to production fast by partnering with Spatial.

